Dota 2 Warding Guide
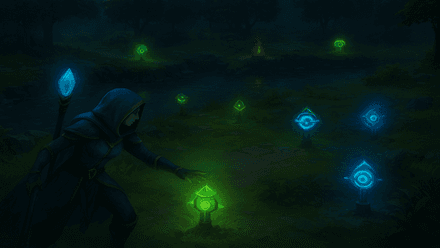
Warding in Dota 2 is an interesting beast. It is an oft-overlooked but integral part of gameplay, as it provides your team with vision, allowing you to predict enemy movements. However, many players — especially newcomers — often ignore wards, forget to place them, or don’t know how to use them effectively. Our guide is here to help you understand the basics of Dota 2 wards placement and learn the best spots for map control.
Types of Wards
There are only two types of Dota 2 wards:
- Observer Ward. A free item that you can get in your Base Shop, it grants a 1600-point vision radius after placement. Initially, two Observers are available, while their maximum number in the Base Shop is four (a new ward appears there every 135 seconds). Observers last for six minutes before disappearing.
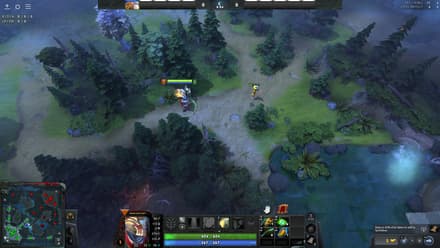
- Sentry Ward. Available at the Base Shop, but you’ll have to pay 50 gold to get one. Unlike Observers, they don’t provide vision but instead create a 1000-point radius of True Sight, allowing you to see any invisible units and wards. Up to eight Sentry Wards can be available for purchase at any given time, with a new one appearing every 80 seconds. Once placed, they last for seven minutes.
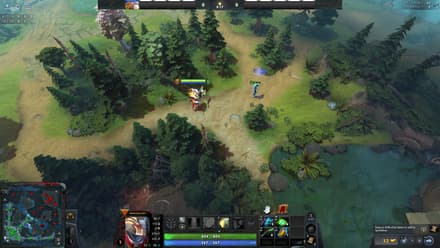
How you place your wards should always depend on the in-game situation. Your success in ward wars (trying to deny the enemy team’s vision while preserving your own) depends on your ability to analyze events on the map and your opponents’ strategy.
Common Dota 2 Ward Spots
There are several commonly used Dota 2 ward spots. Learning them by heart is a great way to disrupt your opponents’ plans by placing a timely Observer. Keep in mind that, unlike Sentries, the vision granted by an Observer may be blocked by a tree or another terrain feature.
Below, you’ll find the common spots for wards in the patch 7.39c:
- Near the Bottom Shrine of Wisdom.
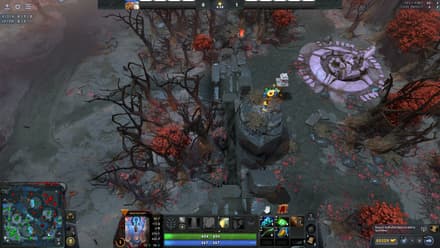
- On the Dire high ground near Ancient Creep Camp.
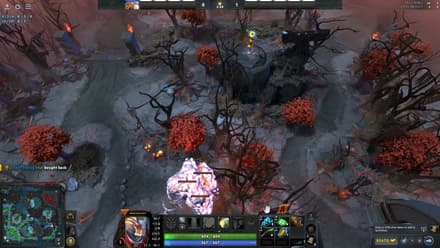
- In the Dire Side forest near the river.
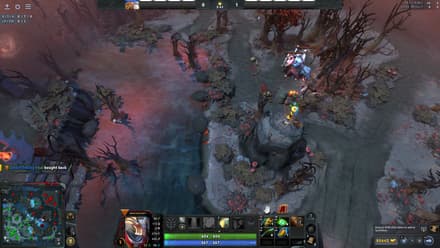
- Near the Radiant Top T1.

- On the Radiant high ground near Ancient Creep Camp.

- In the Radiant Side forest near the river.

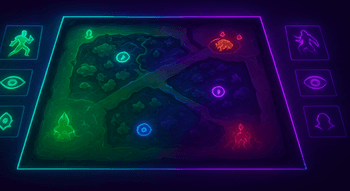
It really helps to know the common warding spots, so check our Dota 2 warding spots on minimap for a visual reference.
How to Ward in Dota 2
Mastering ward placement in Dota 2 is important even if you don’t play as a support. Remember to place Observers and Sentries only if you’re sure there are no enemies nearby. Here’s how to do it:
1. Click the slot where your wards are located (you can do this using your cursor or the slot’s associated key).
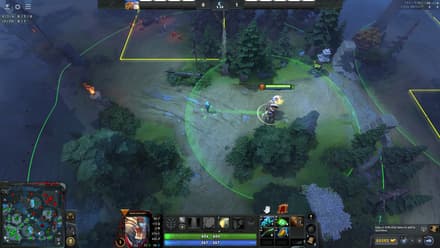
2. Select the spot where you want to place a ward and right-click it.
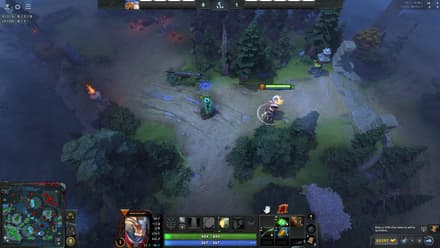
You probably wonder how to switch wards in Dota 2, as both Observers and Sentries occupy the same inventory slot. It’s quite simple: double-clicking the slot changes the type of ward you’ll place with your next right-click.
If you’re not sure who should be warding or where, our Dota 2 positions by role guide explains which player is typically in charge of vision.
Situational Warding (Early, Mid, Late Game)
However, simply learning the best Dota 2 ward spots is not enough. Depending on the in-game situation, you might want to ward specific locations and objectives. This is especially important during the Mid and Late Game phases. For example, there is no reason to place Observers in your forest and high grounds if your team is currently attacking the enemy territory.
On the other hand, if you’re blocked near your T3, it might be a good idea to conduct a reconnaissance in your forest once you get such an opportunity. This way, you’ll both make farming safer for your team and create some gank potential.
Using smoke to sneak into key vision spots is a great trick, and our Dota 2 Smoke of Deceit tips go over that in more detail.
How to Counter Wards in Dota 2
The majority of supports seem to hate purchasing Sentry Wards in Dota 2, but the value of effectively blinding your opponents should not be underestimated. So, you should place Sentries in the most popular Observer spots mentioned above or other locations you know might be warded.
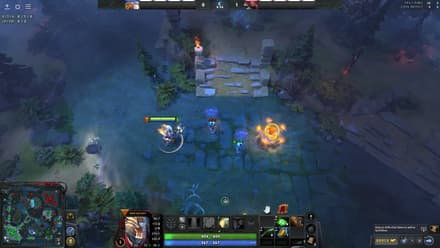
Also, if the enemy team performs most of their ganks near one particular location, this is a clear sign that they have vision there. In this case, don’t hesitate to purchase Sentry Wards and search the area for enemy Observers.
Conclusion
Follow the tips from our Dota 2 warding guide to master your game and boost your performance. Even if you play as a carry, don’t hesitate to position a ward or two if the situation demands it. Your supports will fight for vision during the entire match, but sometimes you’ll have to take matters into your own hands.
